
Blog / Guide
Write to UsHow to Block an IP Address
June 20, 2026
Guide
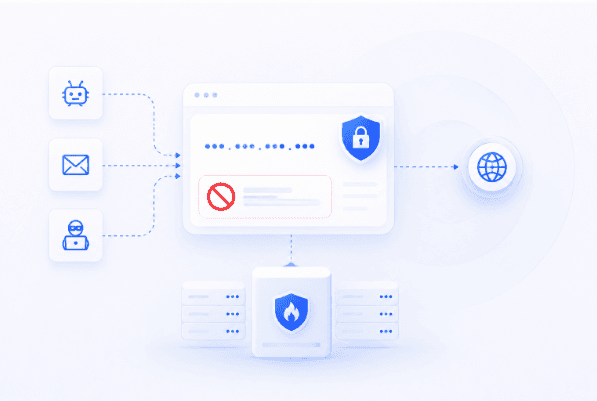
Sometimes one visitor can create a lot of problems. It might be a spammer filling out your forms, a bot trying to log in again and again, or someone scraping your content. When that traffic keeps coming from the same source, blocking the IP address can be one of the fastest ways to stop it.
But IP blocking is not something you should do blindly. Block the wrong IP and you might lock out a real customer, a team member, or even yourself. Block only one IP and a more advanced bot may simply come back through another address.
This guide explains what IP blocking means, when to use it, and how to block an IP address through your website, WordPress, hosting account, .htaccess file, or firewall.
What Does It Mean to Block an IP Address?
Blocking an IP address means stopping traffic from a specific internet address from reaching your website, server, app, or network. Every visitor has an IP address. When someone opens your website, submits a form, tries to log in, or sends a request to your server, that IP address can usually be seen in your logs.
When you create an IP block, you are basically telling your website or server: "Do not allow this IP address to access this resource." Depending on how the block is set up, the person may see a forbidden message, an error page, a failed connection, or nothing at all.
You can block an IP address in several places, including:
- Your hosting control panel
- Your website security plugin
- Your WordPress dashboard
- Your .htaccess file
- Your server firewall
- A web application firewall
- A CDN or security service
There is no single "best" method for every site. A small WordPress blog may only need a security plugin. A high-traffic ecommerce site may need firewall rules, rate limiting, and server-level protection.
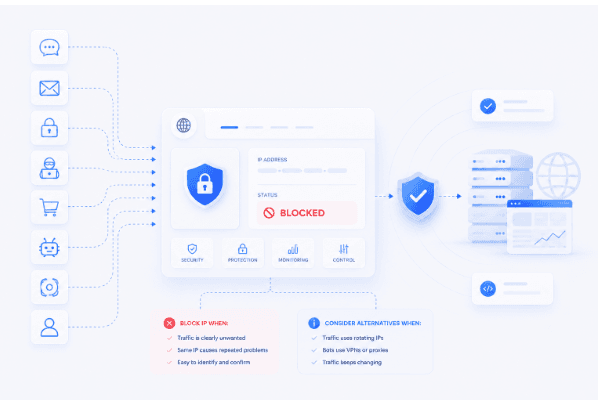
When Should You Block an IP?
IP blocking is useful when the same IP address keeps causing problems. It works best when the traffic is clearly unwanted and easy to identify. Common reasons to block an IP include:
- Spam comments
- Repeated contact form spam
- Failed login attempts
- Suspicious admin activity
- Scraping or content theft
- Fake account creation
- Repeated checkout abuse
- Bot traffic using too many server resources
- Security scans from unknown sources
- Abusive behavior from a known user
For example, if one IP address tries to access your WordPress login page hundreds of times in an hour, blocking it can help reduce the risk of a brute-force attack. If the same IP keeps submitting fake leads through your forms, blocking that IP can also make sense.
Where IP blocking becomes less useful is when the traffic keeps changing. Many bots use rotating IPs, VPNs, or proxy networks. In that case, blocking one IP at a time can turn into an endless job. A firewall, CAPTCHA, or rate limiting rule may be a better long-term fix.
How to Find the IP Address You Want to Block
Before you block an IP address, you need to know which one is causing the issue. You can usually find IP addresses in:
- Server access logs
- Hosting dashboard logs
- WordPress security plugin logs
- Firewall logs
- CDN logs
- Form submission records
- Login activity logs
- Analytics tools
- Security monitoring tools
Look for patterns. One unusual visit is not enough reason to block someone. What you want to find is repeated behavior, such as:
- The same IP trying to log in many times
- The same IP submitting spam forms
- Too many requests in a short period
- Repeated visits to admin pages
- Strange requests to URLs that do not exist
- The same IP causing server errors
- A clear spike in activity from one source
Be careful here. Not every unfamiliar IP is dangerous. Some may belong to real users, search engines, uptime monitoring tools, payment systems, or other services your website depends on. A good rule is simple: block behavior, not just numbers. If an IP is clearly acting in a harmful or abusive way, then blocking it makes sense.

How to Block an IP Address on a Website
There are a few common ways to block an IP address from accessing your website. The easiest method depends on your hosting setup and how much technical access you have.
Block an IP Through Your Hosting Control Panel
Many hosting companies offer a built-in IP blocker. The steps are usually something like this:
- Log in to your hosting account.
- Open the security section.
- Look for IP Blocker, IP Deny Manager, Firewall, or Access Control.
- Enter the IP address you want to block.
- Save the rule.
- Test your website.
This is one of the easiest options if you do not want to touch server files. It is also safer for beginners because you are working inside your hosting provider's dashboard. The exact name of the feature may be different depending on your host, but most control panels have some version of it.
Block an IP With a Web Application Firewall
A web application firewall, often called a WAF, filters traffic before it reaches your website. This is usually a better option if you are dealing with bots, scraping, attacks, or repeated suspicious traffic. Instead of letting the traffic hit your site first, the firewall can stop it earlier.
With a firewall, you can usually create rules like:
- Block this exact IP address
- Challenge this IP with CAPTCHA
- Rate limit this IP
- Block a group of IPs
- Block traffic matching certain behavior
- Block requests to sensitive URLs
This is also where context matters. Proxy traffic is not automatically bad. Developers, SEO teams, QA teams, and privacy-focused users may all use proxies for legitimate reasons. Services like Lightning Proxies are often used for browsing, testing, and managing access, so website owners should look at traffic behavior before assuming every proxy IP needs to be blocked.
If the traffic is abusive, block it. If it is just unfamiliar, investigate first.
Block an IP Through Your CMS
Some CMS platforms let you block IP addresses through security settings or plugins. For WordPress, this is usually done with a security plugin. Other platforms may have access control features, extensions, or admin-level rules.
This method is convenient, but it may not always be the strongest option. In many cases, the request still reaches your website before the CMS blocks it. That means your server may still use resources handling the request. For small problems, CMS-level blocking can be enough. For heavy bot traffic, a firewall is usually better.
Block an IP at Server Level
If you manage your own server, you can block IP addresses using server firewall tools. This is more technical, but also more powerful. Server-level blocking can stop unwanted traffic before it reaches your website application. This method is usually handled by a developer, system administrator, or hosting support team. If you are not comfortable with server settings, it is better not to experiment on a live website.
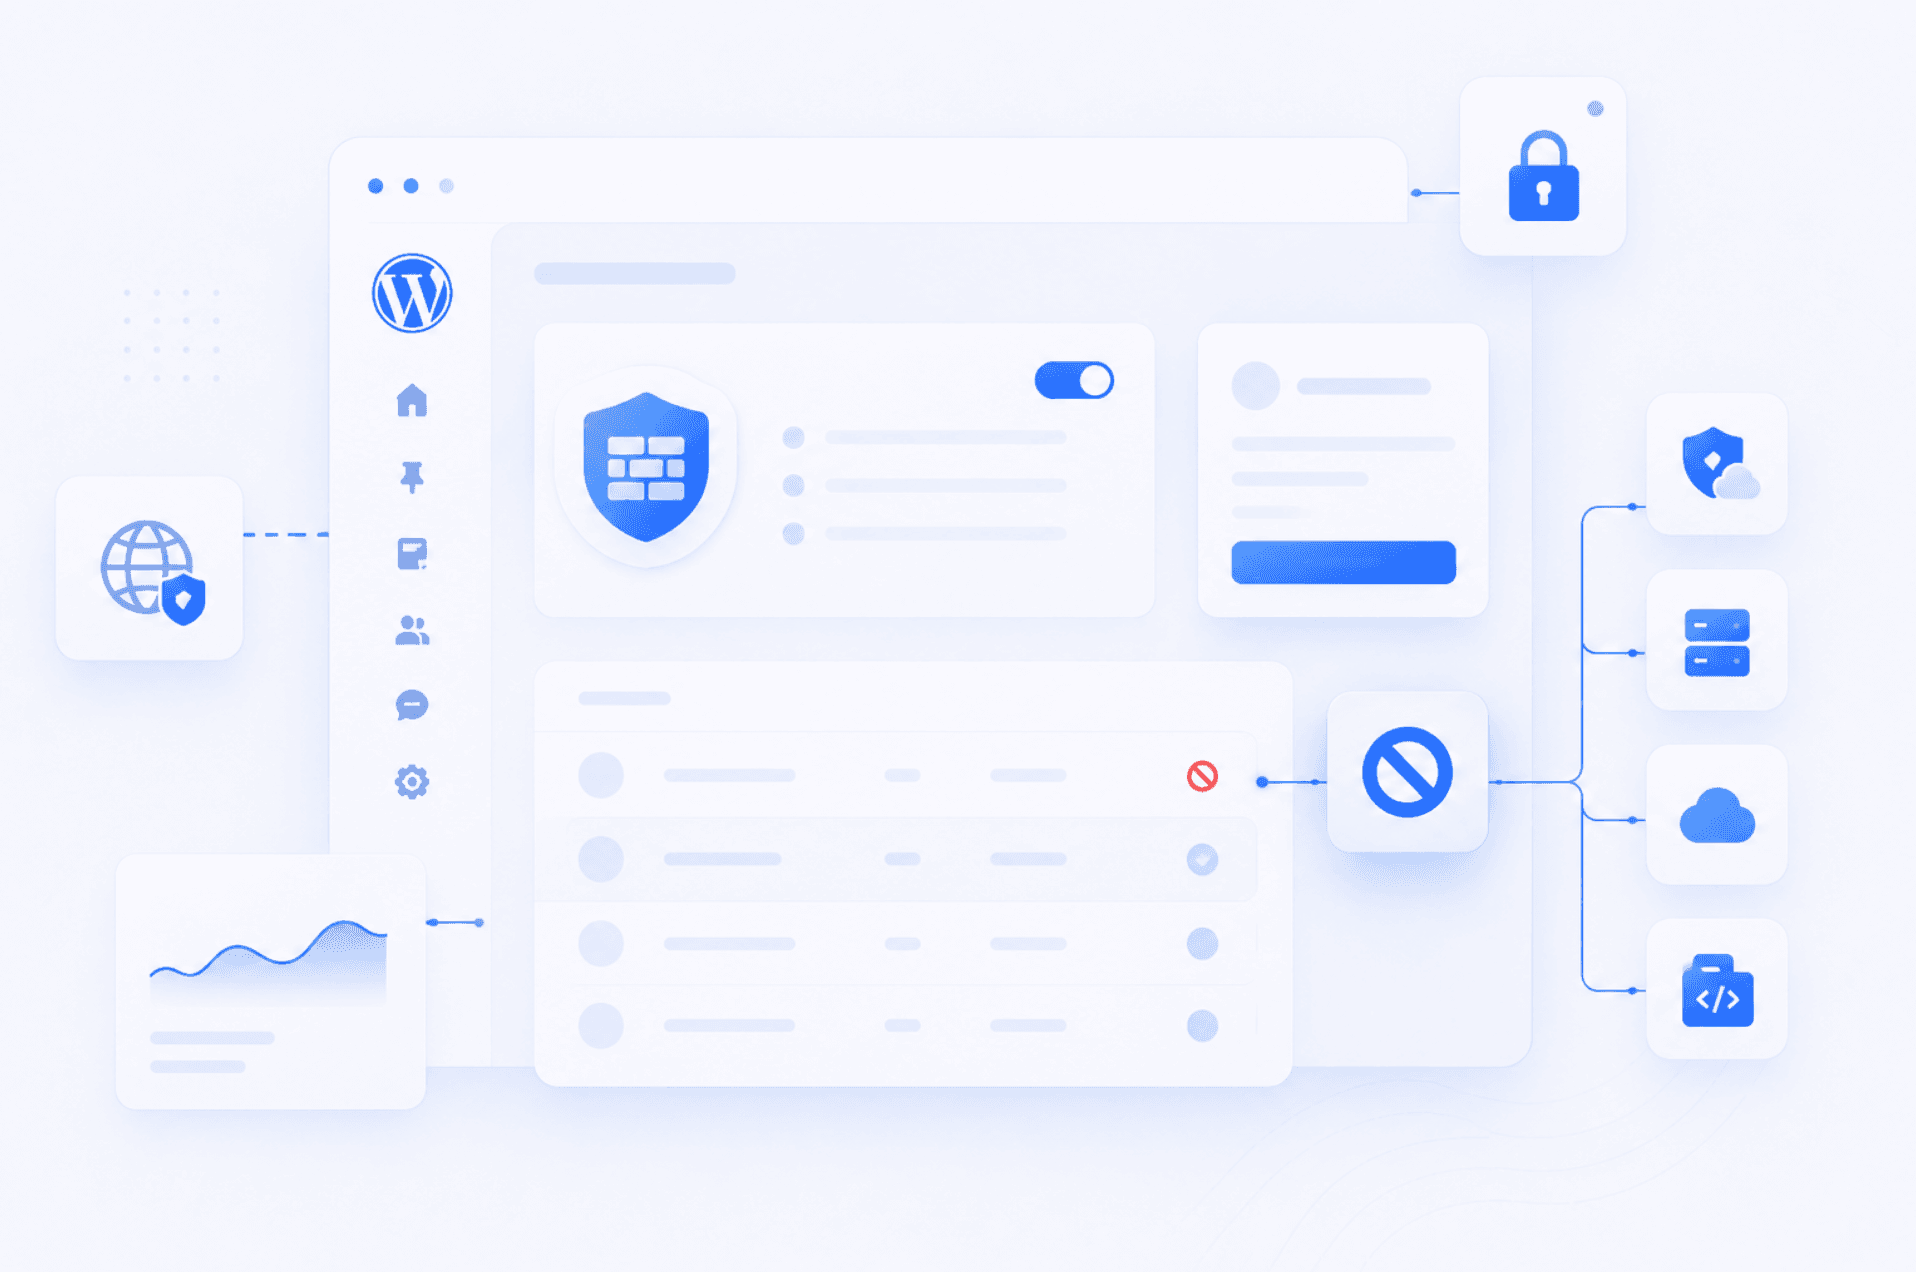
How to Block an IP Address in WordPress
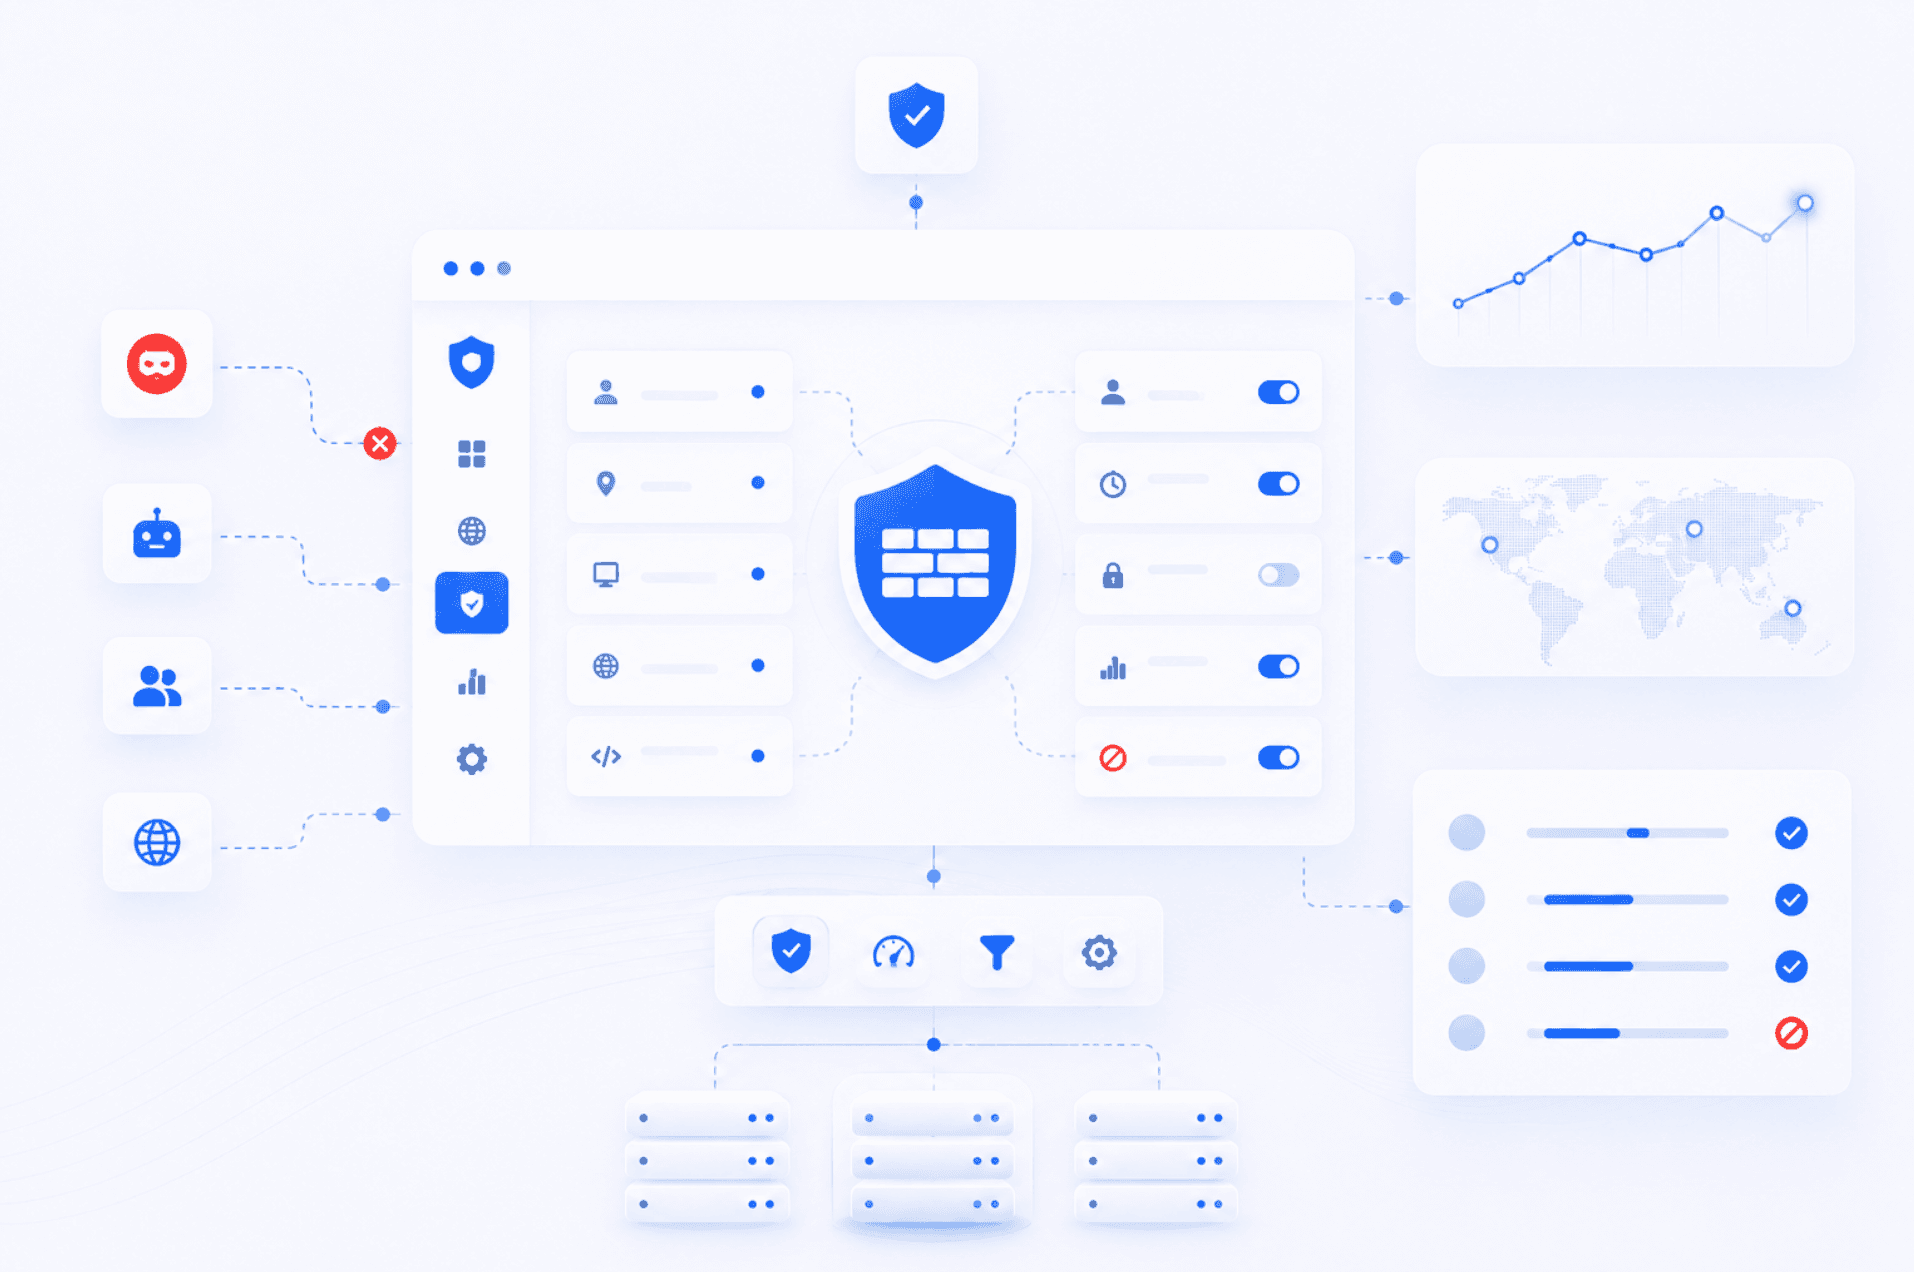
WordPress sites are common targets for spam, login attempts, and bot traffic, so IP blocking is a useful feature to know. The easiest way to block an IP address in WordPress is through a security plugin. A basic process looks like this:
- Open your WordPress dashboard.
- Go to your security plugin.
- Find the firewall, blocking, or access control section.
- Add the IP address you want to block.
- Save the change.
- Check your logs after a while to see if the activity stopped.
Some plugins also let you block IPs automatically after too many failed login attempts. This can be helpful, but use it carefully. You do not want to lock out real users or your own team.
You can also block IP addresses outside WordPress through:
- Your hosting control panel
- Cloudflare or another firewall
- The .htaccess file
- Server firewall rules
For most WordPress sites, blocking through a firewall or hosting panel is cleaner than relying only on WordPress. That way, bad traffic can be stopped before it fully reaches the site.
How to Block an IP Address Using .htaccess
If your website runs on Apache, you may be able to block IP addresses through the .htaccess file. This file is powerful, so be careful. A small mistake can break your site. Always make a backup before editing it.
For newer Apache versions, you can use this format:
<RequireAll>
    Require all granted
    Require not ip 123.123.123.123
</RequireAll>
Replace 123.123.123.123 with the IP address you want to block. To block more than one IP address, add each one on a new line:
<RequireAll>
    Require all granted
    Require not ip 123.123.123.123
    Require not ip 111.111.111.111
    Require not ip 222.222.222.222
</RequireAll>
On older Apache setups, you may see this style:
Order Allow,Deny
Allow from all
Deny from 123.123.123.123
After saving the file, open your website and make sure it still loads. If you see a server error, restore the backup and check the syntax.
How to Block IP Addresses With a Firewall
For many website owners, a firewall is the most practical way to handle IP blocking. A firewall lets you block more than just one address. You can create smarter rules based on behavior, request volume, location, user agent, URL path, or risk level.
For example, instead of permanently blocking an IP, you might choose to:
- Challenge it with CAPTCHA
- Limit how many requests it can make
- Block it only from the login page
- Block it for 24 hours
- Block it only if it triggers multiple rules
This is often safer than a permanent block. It gives you more control and reduces the risk of blocking real users. A firewall is especially useful when you are dealing with:
- Login attacks
- Scrapers
- Spam bots
- Fake signups
- High request volume
- Suspicious traffic from many IPs
- Repeated attacks on the same page
If the issue keeps coming back from different IPs, do not spend all day adding addresses manually. Use rules, rate limits, and bot protection instead.
IP Blocking vs Country Blocking vs Rate Limiting
IP blocking is only one way to control traffic. Sometimes it is the right tool. Sometimes it is not.
IP Blocking
IP blocking stops one specific IP address, or sometimes a small range of IPs. It is useful for one clear spam source, one abusive user, repeated login attempts from the same IP, or a known bad address. The downside is that it is easy to bypass. Someone can switch networks, use a VPN, use a proxy, or come back with a new IP.
Country Blocking
Country blocking stops traffic from a specific country or region. It can be useful if your website only serves certain locations and you are getting heavy abuse from countries where you do not operate. But it is a blunt tool. You may block real users, travelers, remote workers, or customers using VPNs. Use it only when it makes business sense.
Rate Limiting
Rate limiting controls how many requests someone can make in a certain time period. This is often better than blocking because it targets behavior. A normal user can still browse your site, but a bot making hundreds of requests per minute gets slowed down or stopped.
Rate limiting is useful for login pages, search pages, contact forms, checkout pages, APIs, and high-traffic areas of your site. For many sites, rate limiting plus firewall rules is more effective than manually blocking IPs.
Risks of Blocking IP Addresses
Blocking an IP address sounds simple, but there are a few risks.
You Can Block Real Visitors
Some IP addresses are shared by many people. Offices, schools, airports, cafes, mobile networks, and VPNs can all have shared IPs. If you block one shared IP, you may block more than one person.
IP Addresses Can Change
Many users have dynamic IP addresses. This means their IP can change over time. The person you blocked may get a new IP later, while someone else may end up with the old one.
Bots Can Rotate IPs
More advanced bots do not rely on one IP address. They rotate through many of them. If that is happening, blocking one address at a time will not solve the real problem.
You Might Block Yourself
This happens more often than people think. If you accidentally block your own IP, you may lose access to your site or admin area. Before adding rules, check your own IP and make sure it is not on the block list.
You May Block Important Services
Some third-party services need to access your site. This can include search engine crawlers, uptime monitors, payment providers, security scanners, or marketing tools. Do not block an IP unless you are confident it is not connected to something important.
Best Practices for IP Blocking
A good IP blocking setup is careful, not aggressive. Here are a few rules to follow.
- Confirm the problem first. Do not block an IP just because it looks unfamiliar. Check the logs and make sure the behavior is actually suspicious.
- Start with temporary blocks. If you are unsure, block the IP for a limited time. A 24-hour or 7-day block is often enough to stop spam without creating long-term problems.
- Keep notes. Track which IPs you blocked and why. This makes it easier to undo a block later.
- Use a firewall for bigger problems. If you keep blocking IPs every day, the issue is probably bigger than one address. Use a firewall, WAF, or rate limiting rule instead.
- Do not block huge ranges unless necessary. Blocking an IP range can stop more bad traffic, but it can also block many real users. Be careful with range blocks.
- Protect login and form pages. Most abuse happens around login pages, forms, checkout pages, and APIs. Add extra protection there, such as CAPTCHA, login attempt limits, and rate limiting.
- Monitor after blocking. After you block an IP address, check what happens. Did the spam stop? Did server load improve? Did any real users complain? Blocking should solve a problem, not create a new one.

IP Blocking FAQs
Can I block an IP address from visiting my website?
Yes. You can block an IP address through your hosting control panel, firewall, WordPress security plugin, server settings, or .htaccess file. The best option depends on your website setup.
What happens when you block an IP address?
Is IP blocking permanent?
Can someone bypass an IP block?
Should I block individual IPs or use a firewall?
Can blocking IP addresses hurt real users?

April 29, 2026
Guide
Proxies for Web Scraping: How They Work and How to Choose the Right Type
Learn how proxies make web scraping stable and scalable, compare proxy types, and choose the right setup for speed, reliability, and block resistance.

December 10, 2025
Guide
What Is a Web Proxy & How It Works
Learn what a web proxy is, how it works, and why LightningProxies is the smart choice for your browsing needs.
February 18, 2026
Guide
What Is an HTTP Proxy?
Learn what an HTTP proxy is, how it works, and why it matters for web traffic, automation, and request routing.